Pour Over Coffee Ratio at Home: 1:16 Brew Guide
A solid Pour over coffee ratio for a single cup at home is 1:16—about 15g coffee to 240g water—with a medium-fine grind and water at 92–96°C (198–205°F). Aim for a total brew time near 2:30–3:30, then change only one variable at a time until the cup tastes balanced. This guide walks you through gear, timed pours, grind and temperature, a troubleshooting table, and a seven-day dial-in plan.
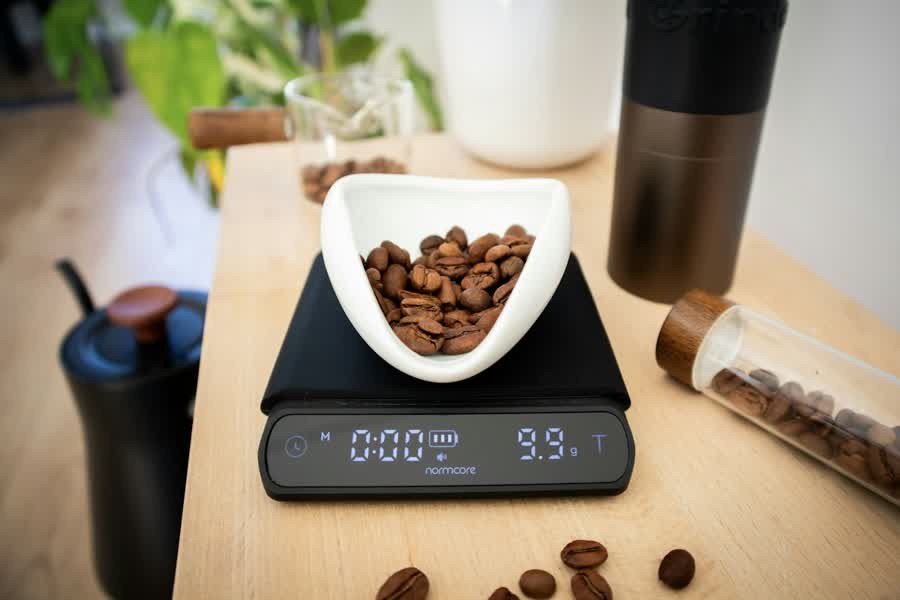
You do not need café gear to brew well. You need a repeatable ratio, a scale that reads to 1g, and a calm pour. Once the baseline cup is clear and sweet, small tweaks become easy to judge.
⚖️ Pour Over Coffee Ratio Basics (1:15–1:17)
🎯 Why 1:16 Is a Strong Starting Point
Think of the Pour over coffee ratio as coffee weight to water weight, not scoops to cups. At 1:16, every gram of coffee meets sixteen grams of water, which keeps extraction in a friendly middle zone for most washed and natural beans. Starting here gives you room to go richer at 1:15 or lighter at 1:17 without guessing from taste alone.
Industry brewing guidance often frames strength and extraction as separate levers. Ratio mainly sets strength, while grind, temperature, and contact time drive how fully you dissolve soluble flavors. That is why locking the ratio first—then adjusting one other dial—beats changing everything in one brew.
Use 15g coffee and 240g water for one mug-sized cup, or double both for two cups. Keep the same grind and temperature on day one so the ratio is the only new decision.
📊 Ratio Table for One and Two Cups
Use grams for both coffee and water so the math stays honest across drippers. The table below scales a 240g “one cup” and a 480g “two cups” target for three common ratios.
| Ratio | 1 cup (240 g water) | 2 cups (480 g water) | Cup character |
|---|---|---|---|
| 1:15 | 16 g coffee | 32 g coffee | Fuller body, punchier |
| 1:16 | 15 g coffee | 30 g coffee | Balanced default |
| 1:17 | 14 g coffee | 28 g coffee | Lighter, more tea-like |
Round to the nearest gram if your scale jumps. Tiny rounding errors matter far less than pouring inconsistently or changing grind and ratio on the same morning.
🧰 Gear You Need Before You Brew
✅ Simple Kit That Supports Consistency
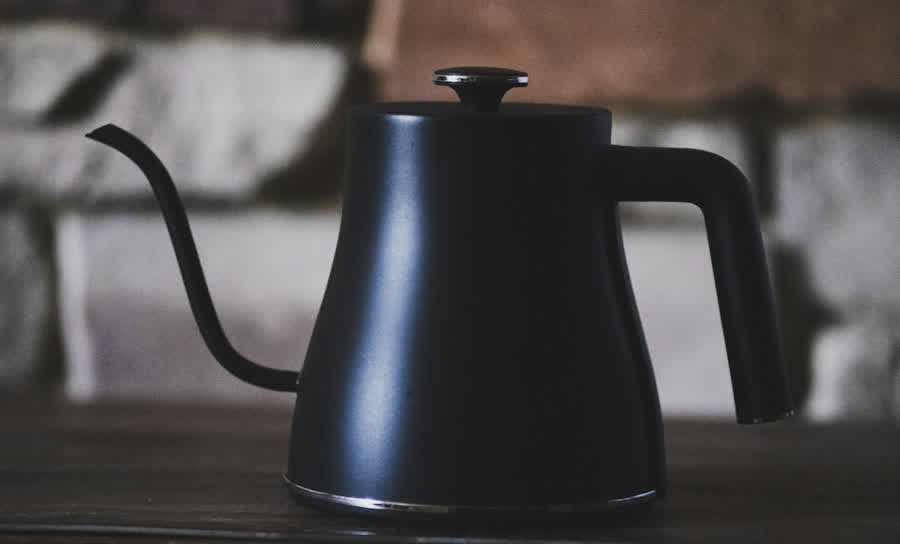
You need a pour-over dripper, paper filters that fit it, a vessel under the dripper, a kettle, a scale accurate to 1g, and a timer. A gooseneck kettle is optional but helpful because a thin spout slows the pour and keeps the bed level. Any kettle works if you pour patiently in circles instead of dumping water in one spot.
Skip brand shopping lists. Match filter size to your dripper, rinse every paper filter, and weigh both coffee and water. That trio—correct filter, rinse, and scale—does more for clarity than upgrading hardware before your process is stable.
Dripper · matching paper filter · carafe or mug · kettle (gooseneck optional) · 1g scale · timer · filtered water · fresh beans ground just before brewing when you can.
⏱️ Step-by-Step Brew with Timestamps
📝 One Cup at 1:16, Timed from Zero
Set up with 15g coffee and a final water target of 240g. Heat water into the 92–96°C window, rinse the filter, and discard the rinse water so paper taste does not linger. Start the timer when the first bloom water hits the grounds.
- 0:00 rinse: Wet the paper filter thoroughly, then empty the vessel so only the damp filter remains.
- 0:00–0:45 bloom: Pour about 30g water (2× coffee weight), swirl gently, and wait 30–45 s while gas escapes and the bed settles.
- 0:45–1:30 first pour: Raise the total to about 120g with slow circles from the center outward, keeping the bed flat.
- 1:30–2:15 second pour: Continue to about 180g, still avoiding hard walls of dry grounds on the sides.
- 2:15–2:45 final pour: Reach 240g, then stop pouring and let the drip finish.
- 2:30–3:30 drawdown: Aim for the drip to finish in this window; if it races under 2:00 or crawls past 4:00, fix grind next time, not mid-brew.
- Serve: Swirl the carafe, taste after a short cool-down, and jot one note about sweetness, acidity, and body.
I still remember the first morning the bloom looked like a living sponge instead of a flat mud pile. Tiny bubbles rose through the crust, the bed sank evenly, and the finished cup finally tasted sweet instead of thin and sharp. That one pause taught me more than any gadget ever did.
If you want the brew to stick as a morning habit, pair it with a tiny cue like the 2-minute rule and habit stacking so the scale comes out before your phone does.
🧂 Grind Size and Why Extraction Changes
🔍 Table Salt vs Sea Salt in Plain Words
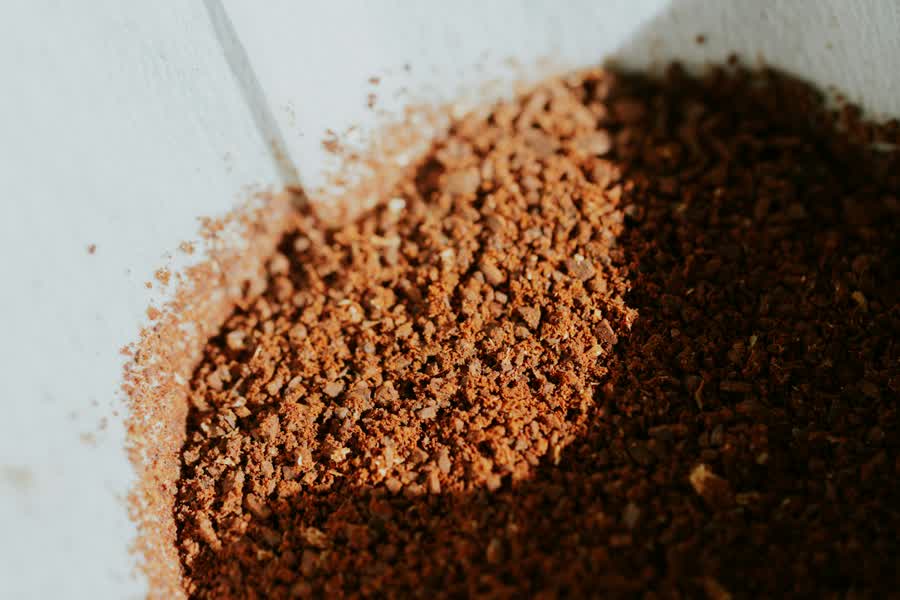
For this method, grind toward medium-fine: closer to ordinary table salt than to coarse sea-salt crystals. Finer particles expose more surface area, so water extracts sugars and acids faster. Coarser particles slow extraction and can leave the cup hollow if the pour finishes too quickly.
When drawdown finishes early and the cup tastes sour or watery, grind a notch finer. When drawdown stalls and the cup tastes bitter or drying, grind coarser. Keep the same Pour over coffee ratio while you make that change so you can taste what grind alone did.
If the bed looks muddy and clogs, you are too fine. If water races through with little resistance and the cup feels thin, you are too coarse. Adjust in small steps and brew again before judging.
🌡️ Water Temperature and Filtered Water
🔥 What Happens Around 85 °C vs 95 °C
Most home pour-overs taste clearer when brew water sits near 92–96°C. Around 85°C, extraction often stays shy: acidity can dominate and sweetness stays muted. Near 95°C, soluble flavors dissolve more readily, which helps a dialed grind shine—and can push bitterness if the grind is already too fine.
Use filtered water when your tap tastes chlorine-heavy or very hard. Minerals help extraction, but exact dissolved-solids targets vary by source and lab method, so treat “pleasant drinking water” as the practical goal rather than chasing a single number. Specialty Coffee Association brewing materials and university food-science extension pages both stress that water chemistry and brew parameters interact; sources do not always publish identical home targets, so treat published ranges as guidance, not a single law.
For deeper background on extraction ideas used across specialty brewing, read the Specialty Coffee Association protocols and best practices overview, and pair it with a practical food-science angle from Penn State Extension on brewing a better cup.
Turn any ratio into a percentage: 15g in 240g is 6.25%—check your own numbers before you change grind or temperature.
🛠️ Taste Troubleshooting Table
🧭 Match the Sip to One Likely Fix
Taste first, then pick one fix. Changing grind, temperature, and ratio together hides the real cause. Keep notes short: sour, bitter, thin, or harsh—plus what you changed.
| Taste | Likely cause | Fix (one change) |
|---|---|---|
| Sour / sharp | Under-extracted | Grind finer or brew hotter |
| Bitter / drying | Over-extracted | Grind coarser or brew cooler |
| Thin / watery | Too little coffee or too fast flow | Move toward 1:15 or grind finer |
| Muddy / heavy | Too fine or clogged bed | Grind coarser; pour gentler |
| Paper / cardboard | Unrinsed filter | Rinse longer before dosing |
If the cup is sour, prefer finer or hotter—not both on the same day. If it is bitter, prefer coarser or cooler. Save ratio changes for when body is the main complaint.
📅 A 7-Day Dial-In Plan
🗓️ Change One Dial Per Morning
Treat the week like a short experiment, not a performance. Same beans, same dripper, same vessel. Write one sentence after each cup so memory does not rewrite yesterday’s brew.
- Day 1: Lock 1:16, medium-fine grind, 92–96°C, and the timed pours above—no other changes.
- Day 2: Adjust grind only based on sour vs bitter and drawdown time.
- Day 3: Hold grind; nudge temperature warmer or cooler by a small step if needed.
- Day 4: Keep recipe; focus on pour pace and bed flatness only.
- Day 5: If body is weak or heavy, move once toward 1:15 or 1:17.
- Day 6: Repeat the best recipe twice to confirm it was not luck.
- Day 7: Write your house recipe on a card and stop tweaking for a week.
If mornings feel rushed, borrow a light Pomodoro-style time block for a ten-minute brew window so the timer and scale stay part of the routine instead of an afterthought.
By the end of the week you should have a personal default: a trusted Pour over coffee ratio, a grind that finishes near 3:00, and a temperature you can hit without fuss. That is the whole point of dialing in—not chasing perfection forever.
❓ Frequently Asked Questions
❓ What pour over coffee ratio should beginners start with?
Start at 1:16 with 15g coffee and 240g water. Keep that recipe for a few days before moving richer or lighter. Consistency teaches your palate faster than constant recipe hopping.
❓ How do I convert a pour over coffee ratio into grams for two cups?
For 480g water at 1:16, use 30g coffee. At 1:15 use 32g, and at 1:17 use 28g. Scale both sides equally so strength stays in the same family.
❓ Why does my pour-over taste sour even at 1:16?
Sour often means under-extraction, not a “wrong” ratio. Grind finer or raise temperature slightly while holding water and coffee weight steady. Also check that bloom lasts at least 30 s.
❓ Is a gooseneck kettle required for good results?
No. It helps control flow, but a careful pour from a regular kettle can still produce a clean cup. Focus on even saturation, a flat bed, and finishing near 2:30–3:30.
❓ How fine should the grind be compared with drip coffee?
Aim for medium-fine—more like table salt than coarse sea salt. If the brew stalls, go coarser; if it finishes under two minutes and tastes thin, go finer. Always change grind in small steps.
❓ Can I reuse the same recipe for different beans?
Use the same starting recipe, then retune grind first. Density, roast level, and freshness shift extraction even when the ratio stays fixed. A short dial-in week after a new bag saves wasted mornings.